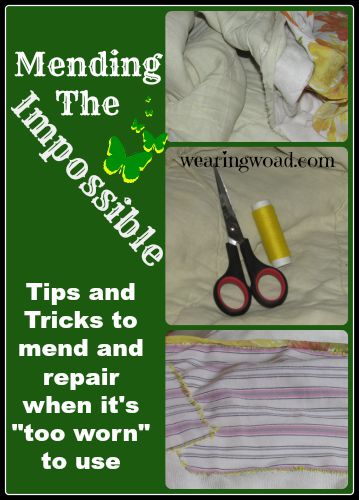
Sometimes a mending project seems impossible, or at least useless. The blanket is so ratty that, in normal circumstances, you would throw it out. But, due to not knowing where to get a new item, having the item being on-loan, or some other circumstance, you can’t get rid of it. So, there is a choice you can leave it ratty and wearing out, or you can do some mending and make it at least half decent for use. Which do you choose?
If you are like me, probably the mending part. The one blanket I have is on loan, and is tattered and worn out. So worn out in fact that it presents a sleeping hazard, and is nearly impossible to sleep under without increasing the rips and tears. While it would be more logical, possibly, to buy a new blanket, I don’t have permission to replace it. But, I do have permission to mend it.
So, how do you mend the impossible?
Step One: Evaluate:
With this blanket, certain sections could have the outer edge of the blanket doubled over and stitched to the lining to make the repair. Other sections needed large patches, and still others worked with small patches.
Also, decide on your plan of attack. As a blanket has four sides, I started with the two least worn sides so I could feel like I was making progress before tackling the major worn areas.
Step Two: Collect Your Materials
Due to the size of the repairs, I needed to make sure I had enough materials to complete it before I began. As I do not have access to my normal collection of fabrics, I ended up finding a mostly un-worn shirt with good material to cut up for the patches. Also the shirt fabric is light enough to be attached to the more worn blanket fabric without making too big of a weight difference. I also went out and bought an extra spool of thread, as I was fairly certain my emergency patching kit would not have sufficient thread for this repair.
Step Three: Patching and Mending
Take the first worn rip or tear, and evaluate how large of a patch is needed. Cut the patch to size leaving a quarter inch all around. The extra allowance is to fold under and make a finished edge, as you are sewing. Pin the patch in place, with the seam allowance folded under. Use an over-cast stitch to bind the patch to the worn area. Alternatively, if you are using a sewing machine you can just use a serge stitch around the edge of the patch. Once the patch is fully secured, move on to the next spot.
Sewing and Mending Tips and Tricks:
If you are repairing jeans, use un-waxed dental floss instead of regular thread. The dental floss will hold better, and help your patch stand up to the demands being placed on the jeans (such as farm life).
When repairing a knit item, you can needle felt over most holes. Alternatively you can use embroidery or applique to create a fancy patch that becomes a design element.
If a sequined shirt starts dropping the sequins, you can stop them from dropping by securing the last sequin in line and sewing down the securing thread. If you have more of the same type of sequin, or you caught the dropped ones, you can then sew them back on. However, I would normally just secure the remaining sequins rather than trying to fix the design.
Small rips and tears in other-wise unworn fabric can be repaired using a different method, which I will cover in Part Two of Mending the Impossible.
Most major mending projects can be avoided by doing minor repairs as soon as the fabric starts to give way. A small worn hole in an otherwise good knit top, formed from one or two dropped stitches, is easy to stitch together with matching thread. It is far harder if that small hole has worn into a five or six, or ten, stitch nightmare.
Remember, if you take five minutes to make a repair when the damage first happens or is noticed, it will save many stitches and far more time in the future. The “impossible” project I am working on could have easily been prevented with patches as the wear began on the edges. And instead of dealing with massive rips, I would only have had a few worn spots to worry about.
Back To You:
What is your most impossible mending project to date? Have you ever mended something that really should have just ended up in the trash? How do you feel about mending in general?
While the mending project seems impossible, it still feels good to see the mending progressing and to know that I am enabling this blanket to stay out of the landfill for a little while longer.